How to Add Live Product Demos in Your Webinar Presentations

Webinars have been a key part of online marketing and sales for a long time. They give a special chance to reach many people, set up your role as a leader, and show off what you sell. Yet, many webinars rely too much on boring, slide-filled talks. This can make people lose interest, forget things, and miss out on what could have been. To change a boring watch into an engaging, big-impact time, add a live product demo.
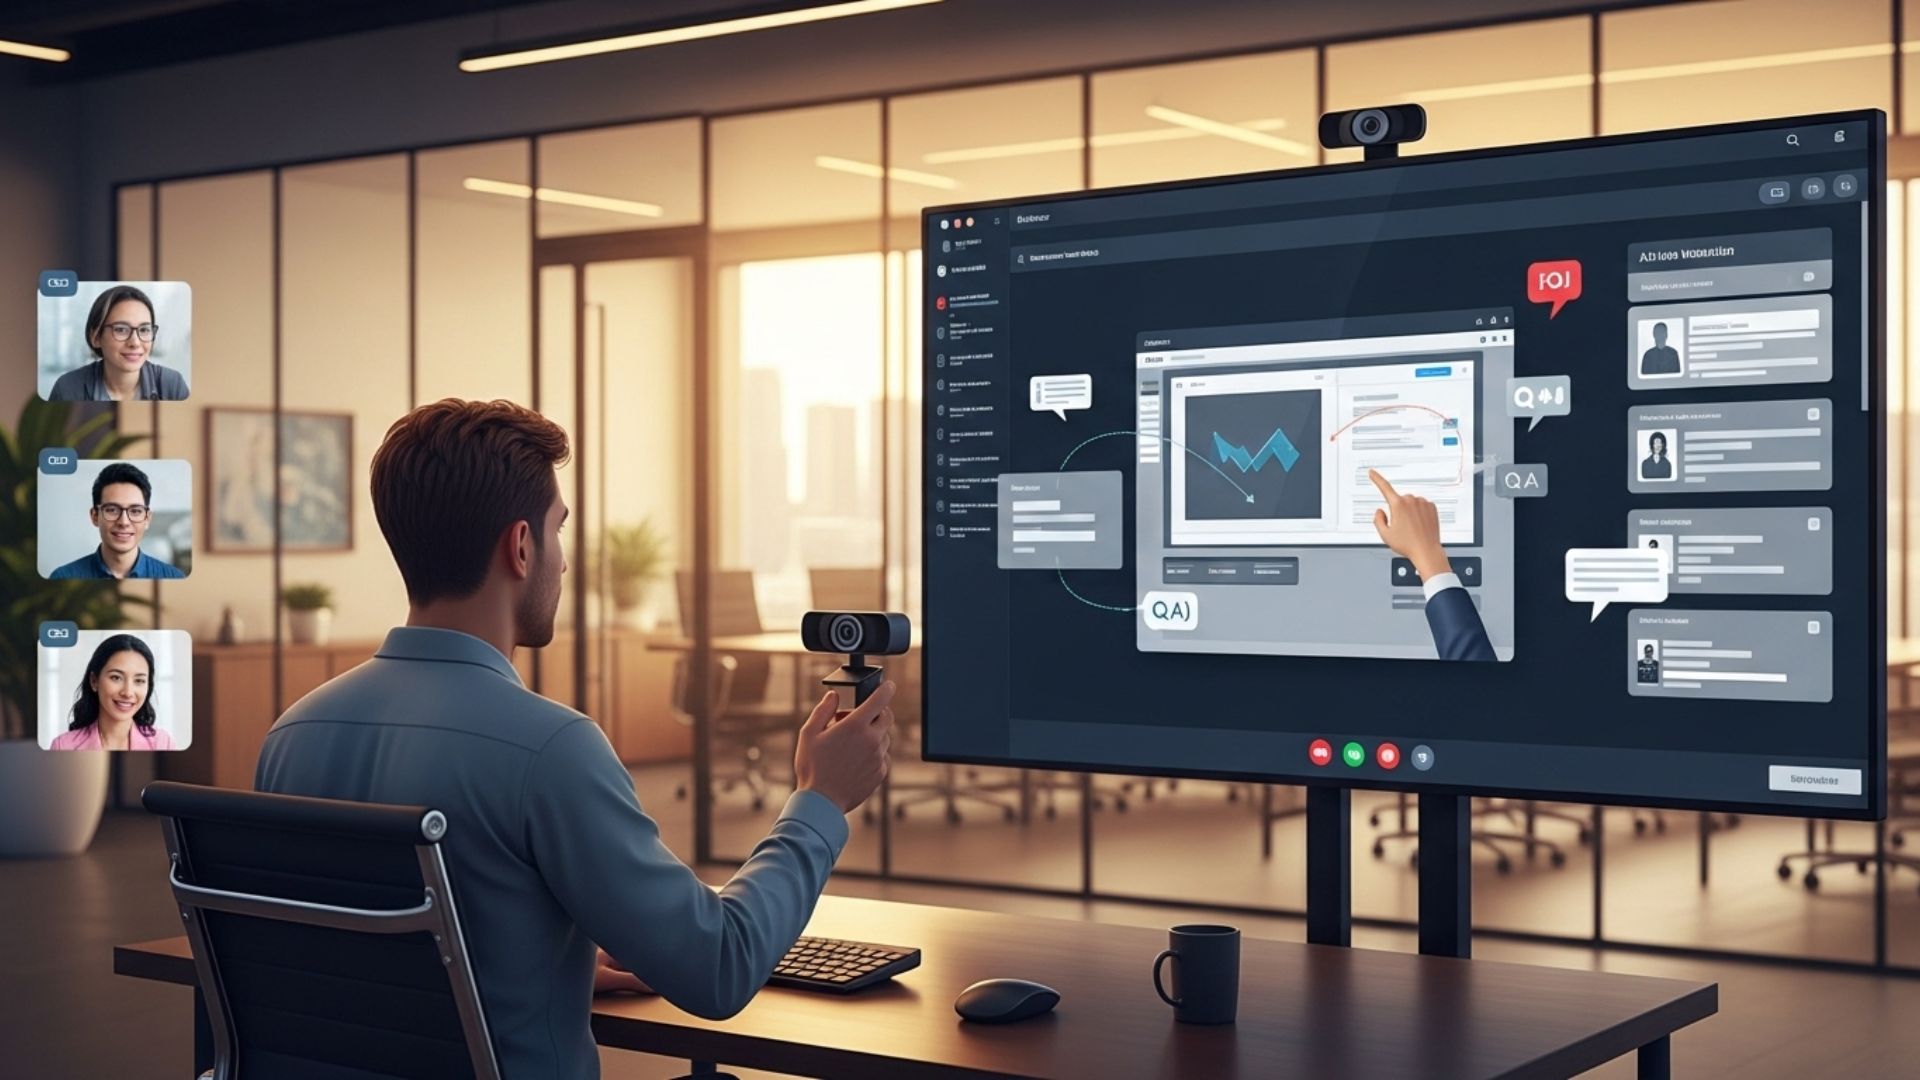
A live demo is more than sharing your screen; it's a show, a story, and a strong way to build trust and show real value. It makes your product come alive, letting possible buyers see it work, know what it does, and see how it can fix their issues.
1. The Strategic Importance of a Live Demo: Why Bother
Before we dive into the "how," let's understand the "why." Why should you invest the time and effort into a live demo?
More Excitement: A live demo makes a normal talk much more fun. It brings in new action that grabs focus. People stop just hearing you talk about your stuff; they see it in action right then. This way of joining in keeps them looking, less likely to get lost in other things or tune out.
Gaining Trust and Belief: Showing your stuff live is a strong move. It says to people, "We trust our stuff so much, we'll show you how it works, just as it is, with no cuts or old clips." This clear view builds deep trust. It shows that your stuff isn't just cool talk on a slide—it really works.
Handling Doubts Right Away: A live demo lets you deal with doubts or answer questions before they come up. You can show right away how something complex works or how to fix a likely issue. It lets you guide the talk and deal with worries ahead of time.
Real Proof of Value: While a slide might list traits like "simple to use" or "strong numbers," a live demo shows it. You can use the system, click around the numbers board, and show what "strong" really looks like. This makes the worth clear and way more grabbing.
Staying in Minds: People keep in mind what they see and do more than just read or hear. A good live demo stays with them well after the event ends. This makes them more likely to think of your stuff when they need to buy.
2. The Planning Stage: From Concept to Script
A successful demo is not a spontaneous event. It is meticulously planned and rehearsed. This is the most critical stage, and rushing it is a recipe for disaster.
Audience-Centric Storytelling
The biggest mistake you can make is to treat your demo as a feature-by-feature tour. Instead, a great demo tells a story. This story should revolve around your audience's needs and pain points.
Identify Your Persona: Who is your target audience for this specific webinar? Are they marketing managers, software developers, small business owners, or enterprise-level executives? Each group has different priorities and problems. Your demo must speak directly to them.
Define the Core Problem: What is the single biggest problem your product solves for this audience? Is it saving time on a tedious task? Is it providing deep insights they can't get elsewhere? Is it streamlining communication? Build your demo around solving this core problem.
Craft a Narrative Arc: Start with the problem. "Imagine you’re a marketing manager trying to track the ROI of your social media campaigns. You're pulling data from five different platforms and spending hours in spreadsheets." Then, introduce your product as the solution. "Here's how our platform helps you consolidate all that data and see the real-time performance of every campaign in one unified dashboard." Conclude with the positive outcome. "Now, you can make data-driven decisions in minutes, not hours, and prove the value of your work."
Prepping Your Demo Environment
A chaotic demo environment can ruin your presentation's credibility.
Create a Dedicated Demo Account: Never, ever use your personal account or a live customer account for a demo. Set up a pristine, dedicated demo account. Populate it with clean, relevant, and non-confidential dummy data that makes your product look its best. This also prevents you from accidentally showing private information.
Remove Clutter: Log out of all other accounts. Close all unnecessary tabs, applications, and browser windows. This prevents pop-up notifications, email alerts, or distracting bookmarks from appearing. The fewer things that can go wrong, the better.
Test Your Equipment: This includes your microphone, webcam, and internet connection. A poor audio connection is a surefire way to lose your audience. A wired Ethernet connection is always preferable to Wi-Fi for stability.
Screen Resolution and Zoom: Adjust your screen resolution so that the text and interface are clearly visible to your audience. You may need to increase the zoom level in your browser or application to ensure everyone can read the text and see the buttons you’re clicking.
Have a Backup Plan: What happens if the internet goes down? Or if a feature suddenly stops working? Have a pre-recorded demo video ready as a backup. You can play this video if a technical issue arises and you can't continue the live demo. While not ideal, it's far better than fumbling through a broken demo.
3. The Rehearsal: Practice Makes Perfect
Rehearsal is not optional. It’s the difference between a fumbled, unconvincing demo and a polished, professional one.
Do a Full Dry Run: Run through the entire webinar, including your slides and the demo segment, from start to finish. This helps you identify awkward transitions and ensures your timing is accurate. You'll know exactly how long the demo will take, allowing you to manage your time effectively.
Narrate as You Go: As you practice, speak out loud as you would during the actual webinar. Explain what you're doing and why. This helps you develop a smooth, natural-sounding script and prevents you from going silent during a key part of the demo.
Record Yourself: Use a screen recording tool to record your practice run. Watch it back. This is an invaluable exercise. It will reveal pacing issues, moments where you’re moving too fast or too slow, and areas where your verbal explanation isn't clear enough.
Practice Handling the Unexpected: Get comfortable with the idea that things might not go perfectly. Practice how you would gracefully handle a slow-loading page or a minor user error. A calm, confident presenter who can navigate a small issue is more impressive than someone who panics.
4. The Live Performance: Executing a Flawless Demo

The day of the webinar has arrived. Here's how to execute your demo like a pro.
Setting the Stage and Seamless Transitions
Introduce the Demo: Don't just suddenly switch to your product screen. Use a transitional slide to announce the demo. Something like, "Now, instead of just talking about our powerful reporting, let's see it in action." This signals to the audience that a new, interactive segment is about to begin.
Frame the Context: Briefly recap the problem you're about to solve before you start. For example, "Remember that problem we discussed about manual data entry? I'm going to show you how our system automates that process in just a few clicks."
Transition with Confidence: The act of sharing your screen and navigating to the demo application should be done smoothly. Practice this transition so there are no awkward silences or delays.
During the Demo: The Art of Narration
Be the Tour Guide: You are not just a screen-sharer; you are the audience's guide. Verbally walk them through every step. Use your cursor to highlight key areas on the screen.
Emphasize Benefits, Not Just Features: As you click a button or select an option, don’t just state what it does. Explain the benefit. Instead of saying, "This is the analytics button," say, "When you click this analytics button, you get a real-time view of your campaign performance, so you can make faster, more informed decisions."
Maintain a Steady Pace: Don't rush through the demo. Speak clearly and at a moderate pace. Give your audience enough time to visually process what you're showing them. Pause occasionally to ask rhetorical questions or check the Q&A for live questions.
Engaging with the Audience
Get a co-host: It's a smart move. They can keep an eye on the chat, pick up questions, and mark a few important ones for you to talk about live during the demo. This makes it a two-way thing without messing up your pace.
Use polls: Either before or after your demo, run a live poll. Ask attendees, "Which feature did you like best today?" or "From 1 to 10, how much do you think this feature will make your work easier?" This collects great feedback and keeps them interested.
Helpful Links & Next Steps
- Book a quick demo: https://bit.ly/meeting-agami
- Try DemoDazzle: www.demodazzle.com
- Learn more on our blog: https://demodazzle.com/blog/
5. The Post-Demo Follow-Up: Don't Let the Momentum Die
The demo isn't the end of the journey; it's a launchpad for the next step.
Go Back to Slides: When you end the demo, switch to a last slide that sums it up. This puts the main points in mind again and takes the talk back to a neat order.
List Top Gains: Go over the main things you just showed and say again the best gains. "As you saw, our tool not only cuts your time on reports but also helps show how great your team is."
Strong Call to Act: This is the key bit. Tell the people what to do next. Are they trying it for free? Book a face-to-face demo? Get a whitepaper? Make the step they should take clear, strong, and simple to do.
Send the Video: In your email later with the webinar video, think to mark the time for the demo part. This lets folks go right back to the most useful part of the talk.
Conclusion: From Presenter to Performer
Adding a live demo to your webinar can change the game. It turns a one-way talk into a back-and-forth chat, and a still show into a lively one. It shows you're sure of yourself and helps you connect with your people.
By planning your story well, setting up your space, practicing until it's easy, and focusing on what your people need, you can make your webinar betterfrom a good show to one they can't forget. A live demo lets you show, not just tell, why your thing is what they've been searching for. It's when your people stop just hearing and start seeing themselves as buyers.
Frequently Asked Questions (FAQs)
1. How long should a live demo be?
Aim to keep your live demo short and on point, usually from 5 to 10 minutes. Show a main work flow or fix a clear problem. Don't try to teach everything about the product. A short demo stops the crowd from getting too tired and keeps them interested in more, which you can use to your gain with your call to action.
2. What should I do if a technical issue happens during the demo?
Tech problems often happen during live talks. The goal is to deal with them smoothly and with sureness. Keep a pre-made demo clip as a plan B. If a part loads slow or you hit a sudden issue, just say, "It seems we have a little tech glitch. As that loads, let me play this pre-made video that shows the same thing." This keeps the talk going and keeps you looking sharp.
3. Is it better to use a pre-recorded video or a live demo?
A live show is more fun and builds more trust because it shows your product in real time. But, a video made before is good for tricky steps that might mess up. It's also good if your internet cuts out.
4. How can I make my demo more interactive?
Interaction is crucial for engagement. Here are a few ways to make your demo more interactive:
Live Q&A: Encourage attendees to ask questions in the chat throughout the demo. Have a co-host monitor the chat and either answer questions directly or flag important ones for you to address.
Polls: Use polls before or after the demo segment. For example, you can ask, "Which of these features are you most interested in?" or "How likely are you to use this feature in your daily work?"
Use Their Data (with permission): If you are presenting to a smaller, more qualified group, you might ask one or two attendees beforehand if you can use their company logo or a small piece of their anonymized data to personalize the demo. This makes the demo feel incredibly relevant.
5. How do I transition smoothly between my slides and the demo?
Plan your transitions in advance and rehearse them. Use a dedicated slide to introduce the demo, setting the context and explaining what you're about to show. As you switch to screen sharing, announce what you're doing. "I'm going to share my screen now and take you inside our platform